MainActivity
...더보기
|
1
2
3
4
5
6
7
8
9
10
11
12
13
14
15
16
17
18
19
20
21
22
23
24
25
26
27
28
29
30
31
32
33
34
35
36
37
38
39
40
41
42
43
44
45
46
47
48
49
50
51
52
53
54
55
56
57
58
59
60
61
62
63
64
65
66
67
68
69
70
71
72
73
74
75
76
77
78
79
80
81
82
83
84
85
86
87
88
89
90
91
92
93
94
95
96
97
98
99
100
101
102
103
104
105
106
107
|
package com.example.boostcoursepractice;
import androidx.appcompat.app.AlertDialog;
import androidx.appcompat.app.AppCompatActivity;
import android.content.Context;
import android.content.DialogInterface;
import android.os.Bundle;
import android.view.LayoutInflater;
import android.view.View;
import android.view.ViewGroup;
import android.widget.AdapterView;
import android.widget.ArrayAdapter;
import android.widget.BaseAdapter;
import android.widget.Button;
import android.widget.FrameLayout;
import android.widget.GridView;
import android.widget.Spinner;
import android.widget.TextView;
import android.widget.Toast;
import com.google.android.material.snackbar.Snackbar;
import org.w3c.dom.Text;
import java.util.ArrayList;
public class MainActivity extends AppCompatActivity {
SingerAdapter adapter;
@Override
protected void onCreate(Bundle savedInstanceState) {
super.onCreate(savedInstanceState);
setContentView(R.layout.activity_main);
GridView gridView = (GridView) findViewById(R.id.grid_view);
adapter = new SingerAdapter();
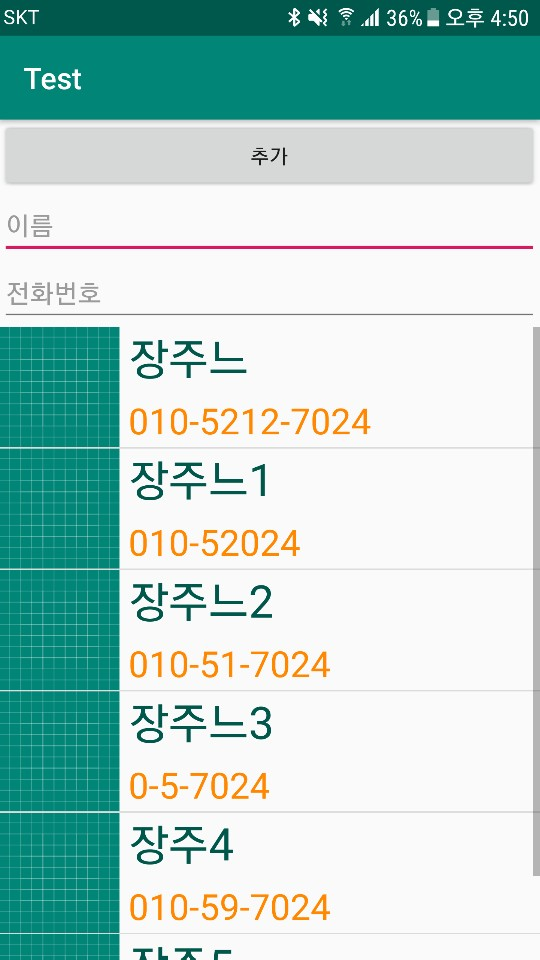
adapter.addItem(new SingerItem("장주느", "010-5212-7024", R.drawable.ic_launcher_background));
adapter.addItem(new SingerItem("장주느1", "010-52024", R.drawable.ic_launcher_background));
adapter.addItem(new SingerItem("장주느2", "010-51-7024", R.drawable.ic_launcher_background));
adapter.addItem(new SingerItem("장주느3", "0-5-7024", R.drawable.ic_launcher_background));
adapter.addItem(new SingerItem("장주4", "010-59-7024", R.drawable.ic_launcher_background));
adapter.addItem(new SingerItem("장주5", "-52 -7024", R.drawable.ic_launcher_background));
gridView.setAdapter(adapter);
gridView.setOnItemClickListener(new AdapterView.OnItemClickListener() {
@Override
public void onItemClick(AdapterView<?> adapterView, View view, int i, long l) {
SingerItem item = (SingerItem) adapter.getItem(i);
Toast.makeText(getApplicationContext(), item.toString(), Toast.LENGTH_LONG).show();
}
});
}
class SingerAdapter extends BaseAdapter
{
ArrayList<SingerItem> items = new ArrayList<SingerItem>() ;
public void addItem(SingerItem item)
{
items.add(item);
}
@Override
public int getCount() {
return items.size();
}
@Override
public Object getItem(int i) {
return items.get(i);
}
@Override
public long getItemId(int i) {
return i;
}
@Override
public View getView(int i, View view, ViewGroup viewGroup) {
SingerItemView singerItemView = null ;
if(view == null)
{
singerItemView = new SingerItemView(getApplicationContext());
}
else
{
singerItemView = (SingerItemView) view;
}
SingerItem item = items.get(i) ;
singerItemView.setName(item.getName());
singerItemView.setMobile(item.getMobile());
singerItemView.setImg(item.getResID());
return singerItemView;
}
}
}
|
cs |
.
.
리스트뷰랑 나머지는 다 같아서 생략
.
.
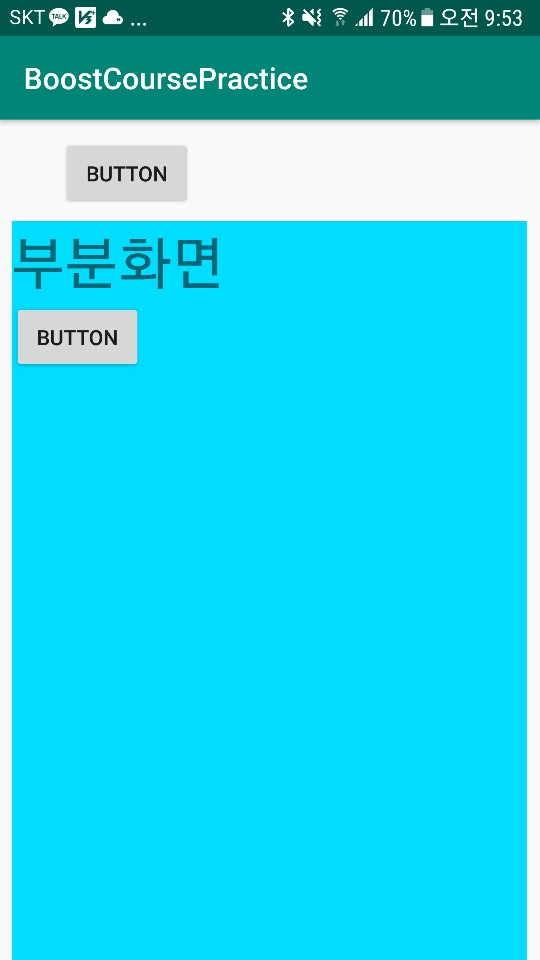
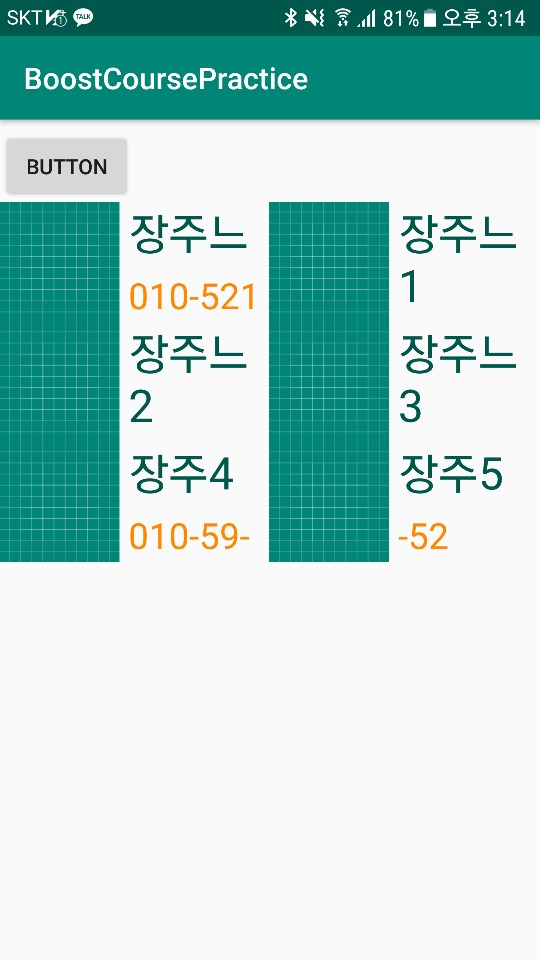
그리드 뷰와 리스트뷰는 아예 사용법이 같다. 다만 그리드뷰의 속성 numColumns를 이용하면 원하는 열의 개수를 지정할 수 있다는 것만 차이가 있다.
'2019 summer 부스트코스 에이스(안드로이드 프로그래밍) > 2. 이벤트와 리스트뷰' 카테고리의 다른 글
| 2-6-2 스피너 사용하기 (0) | 2019.07.31 |
|---|---|
| 2-5-1 인플레이션 이해하기 (0) | 2019.07.31 |
| 2-4-2 비트맵 버튼 만들기 (0) | 2019.07.30 |
| 2-4-1 나인패치 이미지 (0) | 2019.07.30 |
| 2-3-2 알림 대화 상자 보여주기 (0) | 2019.07.30 |